Table of Contents
Introduction about Spider Web Cookie Stamp Cookies Easy Recipe
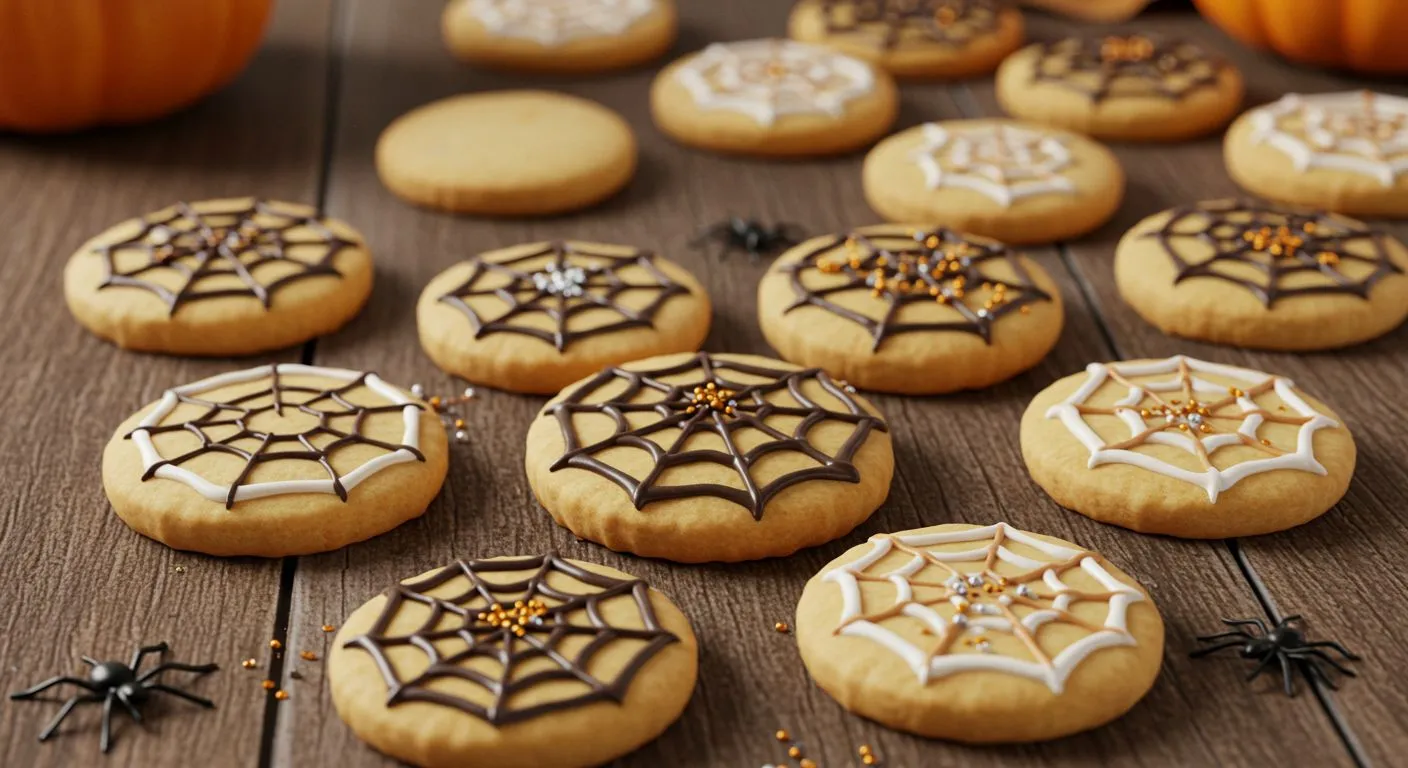
Spider Web Cookie Stamp Cookies are the perfect treat to bake up this season! Whether you’re looking to impress your guests at a party or just want to enjoy a fun and easy dessert, these cookies are both irresistibly tasty and simple to make. With just a few basic ingredients and a creative cookie stamp, you’ll have a batch of decorative cookies that are as delightful to look at as they are to eat. The spider web design adds a playful touch, making them an ideal baking project for families or beginners. Plus, they’re customizable with your favorite frosting or icing, allowing you to get as creative as you want. Ready to dive into this easy recipe? Let’s get baking.
Recipe Overview
Spider Web Cookie Stamp Cookies are an easy and fun way to add a little spooky charm to your baking routine! Perfect for any time you want to impress with a simple yet eye-catching treat, these cookies are both fun to make and delicious to eat. The best part? You don’t need any fancy skills, just a few basic ingredients and a cookie stamp are all you need to create beautiful, decorative cookies.
Why You’ll Love This Recipe:
Quick and Easy: With just a few steps, you can bake up a batch of these tasty cookies in no time.
Customizable: Choose your favorite frosting or icing to bring the spider web design to life.
Perfect for All Ages: Whether you’re baking with kids or just enjoying a relaxing afternoon, this recipe is simple enough for beginners yet fun for all levels.
Great for Parties: These cookies make a fun addition to any spread or as a delightful treat for any occasion.
Ready to make these irresistible, decorative cookies? Let’s get started.
Ingredients
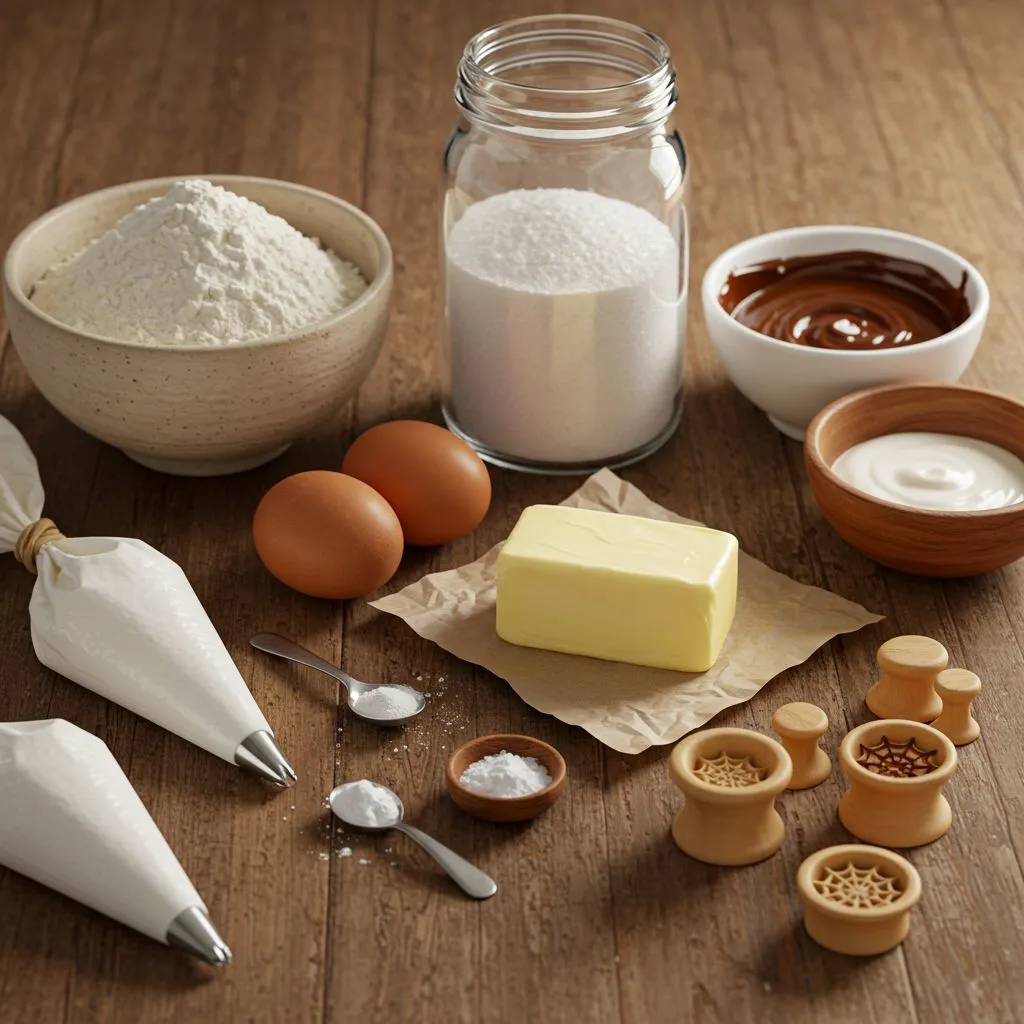
These Spider Web Cookie Stamp Cookies come together effortlessly, and chances are you already have many of the ingredients in your kitchen. Let’s take a look at what you’ll need to get started:
For the Cookie Dough:
- 1 cup (2 sticks) unsalted butter, softened: Softened butter ensures a smooth dough, making it easier to work with and helping the cookies bake evenly.
- 1 cup granulated sugar: This gives the cookies their sweetness and a perfect crisp texture.
- 1 large egg: Eggs help bind the dough together and contribute to the soft, tender texture.
- 2 ½ cups all-purpose flour: The main structure for your cookies. You’ll want to make sure it’s measured accurately for the best results.
- 1 tsp vanilla extract: Adds a warm, aromatic flavor that compliments the sweetness of the cookies.
- ½ tsp baking powder: Helps the cookies rise and gives them that soft, pillowy texture.
- ¼ tsp salt: Just a pinch to balance the sweetness and enhance the flavors.
For the Spider Web Decoration:
- ½ cup dark chocolate or black icing: This will form the base for your spider web design.
- ½ cup white icing or royal icing: The contrasting white icing will be used to create the web’s details and enhance the spooky aesthetic.
- Piping bag or ziplock bag with the tip cut off: These tools will help you easily pipe the icing into beautiful spider web shapes.
Optional:
- Sprinkles or edible glitter: If you want to add some extra sparkle to your cookies, these are a fun way to elevate the design.
Pro Tip: Be sure your butter is softened to room temperature for easy mixing. Cold butter can make the dough tough, while melted butter may make the cookies too flat. Softened butter gives your cookies a perfect, chewy texture.
Now that you’ve got all your ingredients ready, you’re set to create some fun and tasty spider web cookies.
Step-by-Step Instructions for Spider Web Cookie Stamp Cookies Easy Recipe
Now that you have your ingredients, it’s time to get baking! Follow these simple steps to create your Spider Web Cookie Stamp Cookies:
Preheat the Oven
Start by preheating your oven to 350°F (175°C). This will ensure your cookies bake evenly and get that perfect golden brown.
Cream the Butter and Sugar
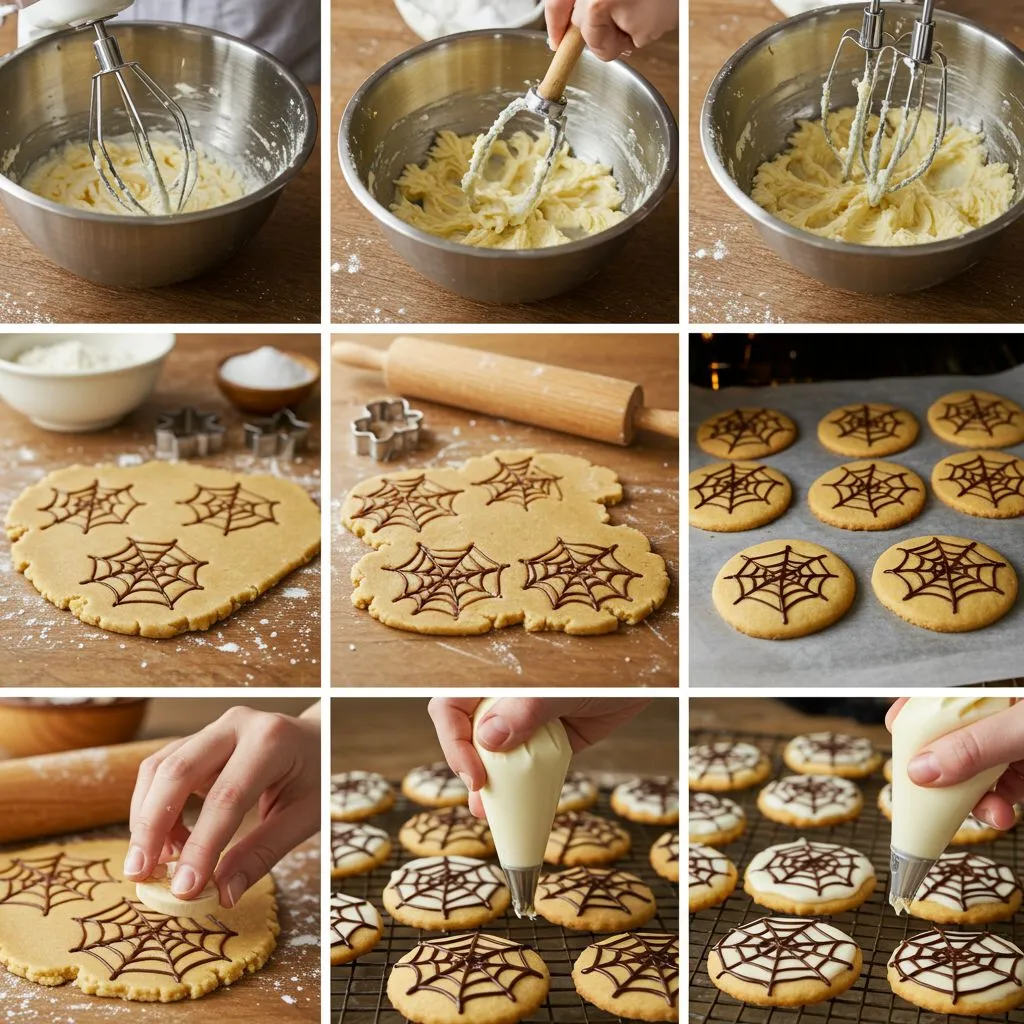
In a large bowl, beat the softened butter and granulated sugar together until the mixture becomes light and airy. This should take around 3-4 minutes using a hand or stand mixer.
Add the Egg and Vanilla
Once the butter and sugar are well combined, beat in the egg and vanilla extract. Make sure everything is fully mixed, so the dough will have a smooth texture.
Mix the Dry Ingredients
In a different bowl, whisk the flour, baking powder, and salt together. Slowly add this dry mixture to the wet ingredients, stirring until everything is well combined.
Chill the Dough
To make rolling and stamping easier, cover the dough with plastic wrap and chill it in the fridge for about 30 minutes. This step helps the dough firm up, so the cookies hold their shape better when stamped.
Shape and Stamp the Cookies
Once chilled, roll the dough into 1-inch balls and place them on a baking sheet lined with parchment paper. Gently press down on each dough ball with your spider web cookie stamp to create the design. If you don’t have a cookie stamp, you can lightly flatten the dough with the back of a spoon and manually pipe a spider web design afterward.
Bake the Cookies
Bake the cookies in the preheated oven for about 8-10 minutes, or until the edges turn golden brown. Be sure to monitor them closely to prevent overbaking, aim for a crisp exterior with a soft, tender center.
Cool and Decorate
Allow the cookies to rest on the baking sheet for a few minutes to cool down before moving them to a wire rack. Once they’ve cooled completely, you’re ready to decorate! Use both dark and white icing to create a spider web pattern. Begin by drawing several concentric circles, then pipe lines between them to form the web.
Optional: Add Extra Sparkle
For a playful finishing touch, sprinkle some edible glitter or fun sprinkles over the web design before the icing hardens.
And that’s it! You now have beautifully decorated, delicious Spider Web Cookie Stamp Cookies ready to impress your friends and family. Happy baking.
Pro Tips for Perfect Spider Web Cookie Stamp Cookies
To make sure your Spider Web Cookie Stamp Cookies turn out just right, here are a few pro tips to guide you:
Butter Softness Matters:
Ensure your butter is softened before mixing. This will help create the light and fluffy texture that’s essential for these cookies. If you forget to take it out ahead of time, try cutting the butter into small cubes to speed up the process.
Don’t Overmix the Dough:
Once you’ve combined the dry ingredients with the wet ones, mix just until everything comes together. Overmixing can lead to tough cookies, which is the last thing you want!
Chill the Dough:
If you find the dough a little too soft to work with, chill it for about 30 minutes. This makes it easier to handle and ensures that your cookies will hold their shape when stamped.
Precision in Baking:
Keep a close eye on your cookies as they bake. Each oven is different, so while the recipe suggests 8-10 minutes, it’s always good to check a minute or two earlier to avoid overbaking. You want the edges golden, but the centers should still be soft.
Make the Web Design Pop:
For a clean and crisp spider web design, use a fine piping tip and work with dark icing first, then fill in with the white icing. The contrast really makes the web stand out!
Sprinkle for Fun:
If you’re looking to add a little sparkle, top your spider webs with edible glitter or sprinkles before the icing hardens. It adds a playful touch and makes them extra festive.
By following these tips, you’ll have cookies that not only look stunning but taste delicious too.
Conclusion:
These Spider Web Cookie Stamp Cookies are the perfect treat for any time you want to impress with a fun, festive dessert. The easy-to-follow steps and creative decoration make them an enjoyable baking project for both beginners and experienced bakers. With the right tips and a bit of patience, you’ll have a batch of cookies that not only taste amazing but also look spectacular. Enjoy baking, decorating, and, of course, eating these delightful cookies with your loved ones.
FAQs About Spider Web Cookie Stamp Cookies Easy Recipe:
Can I make these cookies ahead of time?
Absolutely! You can prepare the dough, shape the cookies, and freeze them. When you’re ready to bake, just pop them in the oven straight from the freezer. This saves time and ensures you have freshly baked cookies whenever you need them!
What if I don’t have cookie stamps?
No worries! You can still make these cookies with a simple round cookie cutter or even use a fork to create a fun texture on top. The spider web design is all about creativity, so feel free to get creative with how you make the shapes.
How can I store these cookies?
Once the cookies are fully cooled and decorated, store them in an airtight container. They’ll stay fresh for up to a week, or you can freeze them for longer storage if you’d like to keep them for a special occasion.
How do I make the spider web design more detailed?
To enhance your spider web, use a piping bag for more control over the icing. You can even add small edible decorations like candy spiders for a spooky touch.