
Table of Contents
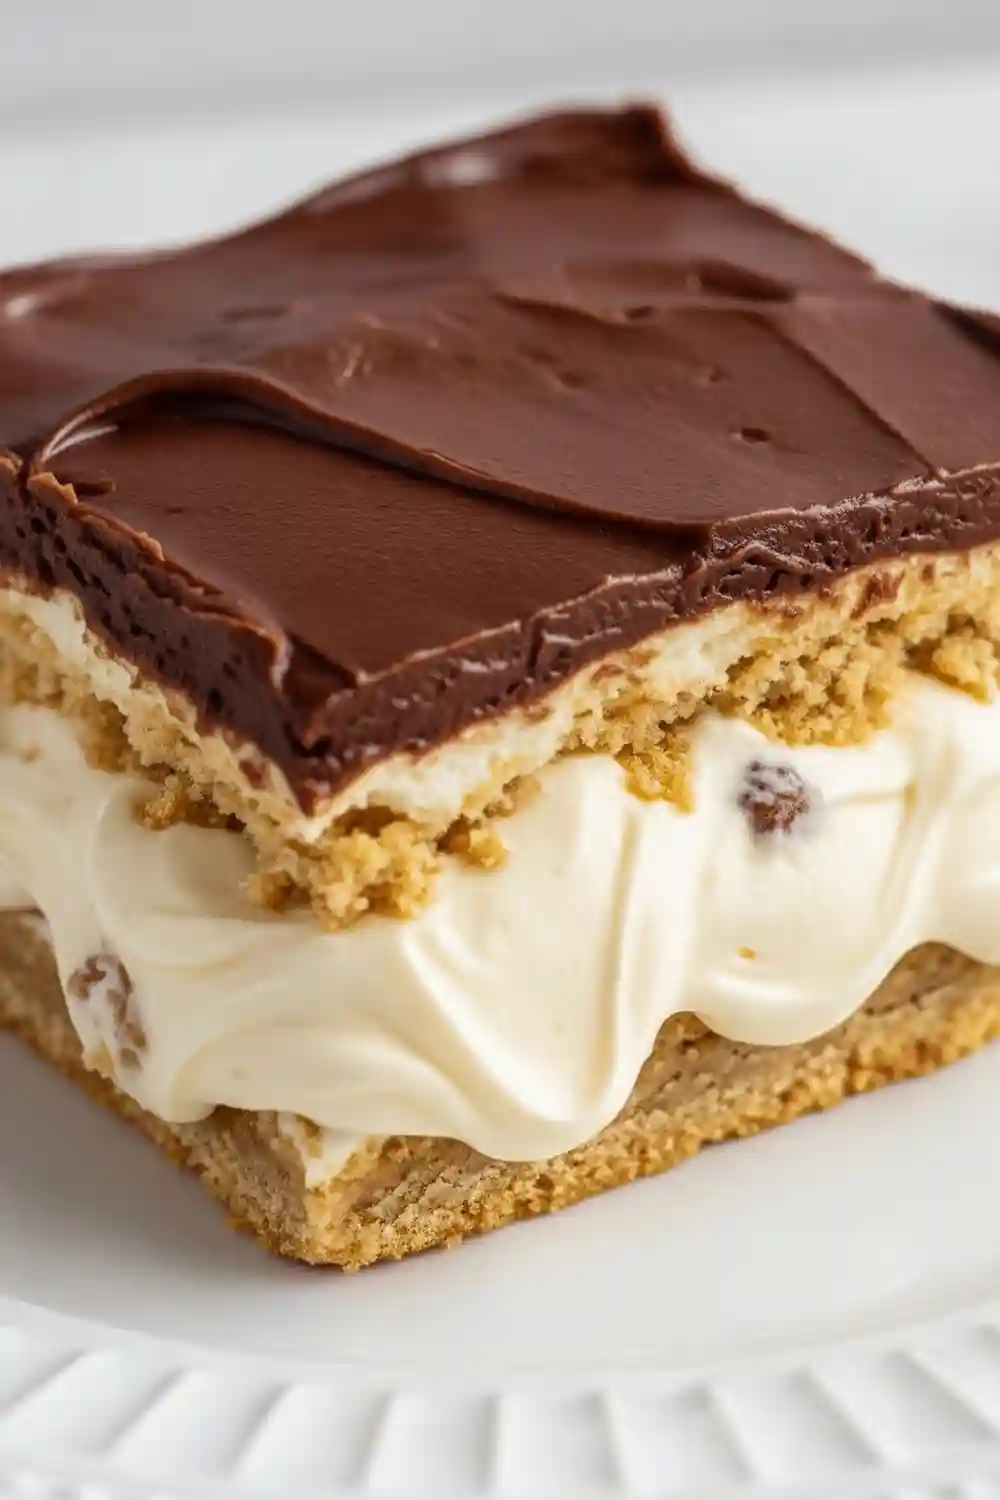
When I think of comfort food, one dessert always comes to mind: Chocolate Eclair Cake. It’s the kind of treat that wraps you up in warm memories, like cozy family gatherings or quiet evenings with a good movie. I love how simple ingredients, like graham crackers and chocolate pudding, come together to create something so rich and satisfying. It’s one of those recipes that feels special but never complicated, making it perfect for anyone, whether you’re an experienced baker or just starting out.
You might be surprised at how easy it is to make this no-bake dessert. I remember the first time I tried it, I was blown away by how creamy and layered it turned out. The best part? You don’t even have to turn on the oven. If you’re like me, sometimes life gets busy, but you still want to enjoy a delicious, homemade treat. This Chocolate Eclair Cake fits perfectly in those moments when you crave something sweet but don’t want to spend hours in the kitchen.
If you’re looking for a dessert that’s both nostalgic and foolproof, this recipe will quickly become one of your favorites. I’ll guide you through each step, share my best tips, and show you how to make this classic dessert your own. Trust me, once you try it, you’ll keep coming back for more.
Why You’ll Love This Recipe
Simple ingredients: Just graham crackers, chocolate pudding, and whipped topping, easy to find and easy to use.
No baking needed: Perfect when you want a delicious dessert without heating up the kitchen or spending hours cooking.
Quick and easy prep: No complicated steps, just layer, chill, and enjoy.
Versatile and customizable: Add your favorite toppings or mix-ins to make it truly your own.
Rich and creamy: A satisfyingly smooth, chocolatey treat that feels indulgent but never overwhelming.
Crowd-pleaser: Perfect for family gatherings, potlucks, or simply treating yourself on any day.
Ingredients
Graham crackers: These create the perfect soft, crunchy layers. I love how they soak up the pudding just enough without getting mushy.
Instant chocolate pudding mix: This is the secret to that rich, creamy chocolate flavor. I usually use the classic brand, but feel free to pick your favorite.
Cold milk: You’ll need this to whisk with the pudding mix to get that smooth, thick filling we all crave.
Whipped topping (like Cool Whip): I add this for a light, fluffy texture that balances the richness of the pudding perfectly.
Vanilla extract: Just a splash to give the filling a gentle, comforting warmth.
Chocolate chips or shavings (optional): If you want to add a little extra chocolatey crunch on top or in between layers, this is my go-to finishing touch.
Recommended Tool
9×13-inch dish or pan: This is the heart of the whole dessert. I always use a glass baking dish so I can peek at the delicious layers from the side.
Mixing bowls: A couple of sizes will do the trick. One large for the whipped filling, and a smaller one for the pudding or ganache.
Rubber spatula: My go-to for spreading the layers evenly. It’s also perfect for scraping every last bit of that pudding mix.
Whisk: For me, a simple balloon whisk works best to get that pudding smooth and lump-free.
Measuring spoons: You’ll need these for vanilla extract or anything else you want to add with precision.
Dry measuring cups: I use these for measuring the graham crackers and any dry ingredients. Much easier than guessing.
Liquid measuring cup: Ideal for measuring the cold milk for the pudding mixture.
Small saucepan: If you’re making homemade chocolate topping instead of using frosting, this is where the magic happens.
Instructions
Mix the pudding
Start by whisking the instant chocolate pudding mix with cold milk. I like to use a whisk and stir briskly for about 2 minutes until it thickens. This step is key because it gives you that rich, creamy filling you’ll fall in love with.
Fold in the whipped topping
Gently fold the whipped topping into your pudding mixture. I do this slowly because I want to keep it light and fluffy, that balance between rich chocolate and airy cream makes this cake feel like a dream.
Layer the graham crackers
In my favorite dish (a 9×13 inch works great), I lay down a single layer of graham crackers. Don’t worry if they don’t fit perfectly; just break them gently to fill the edges.
Add the filling
Spread about one-third of your pudding and whipped topping mixture evenly over the graham crackers. Use a spatula to smooth it out, I find this helps every bite taste balanced.
Repeat layers
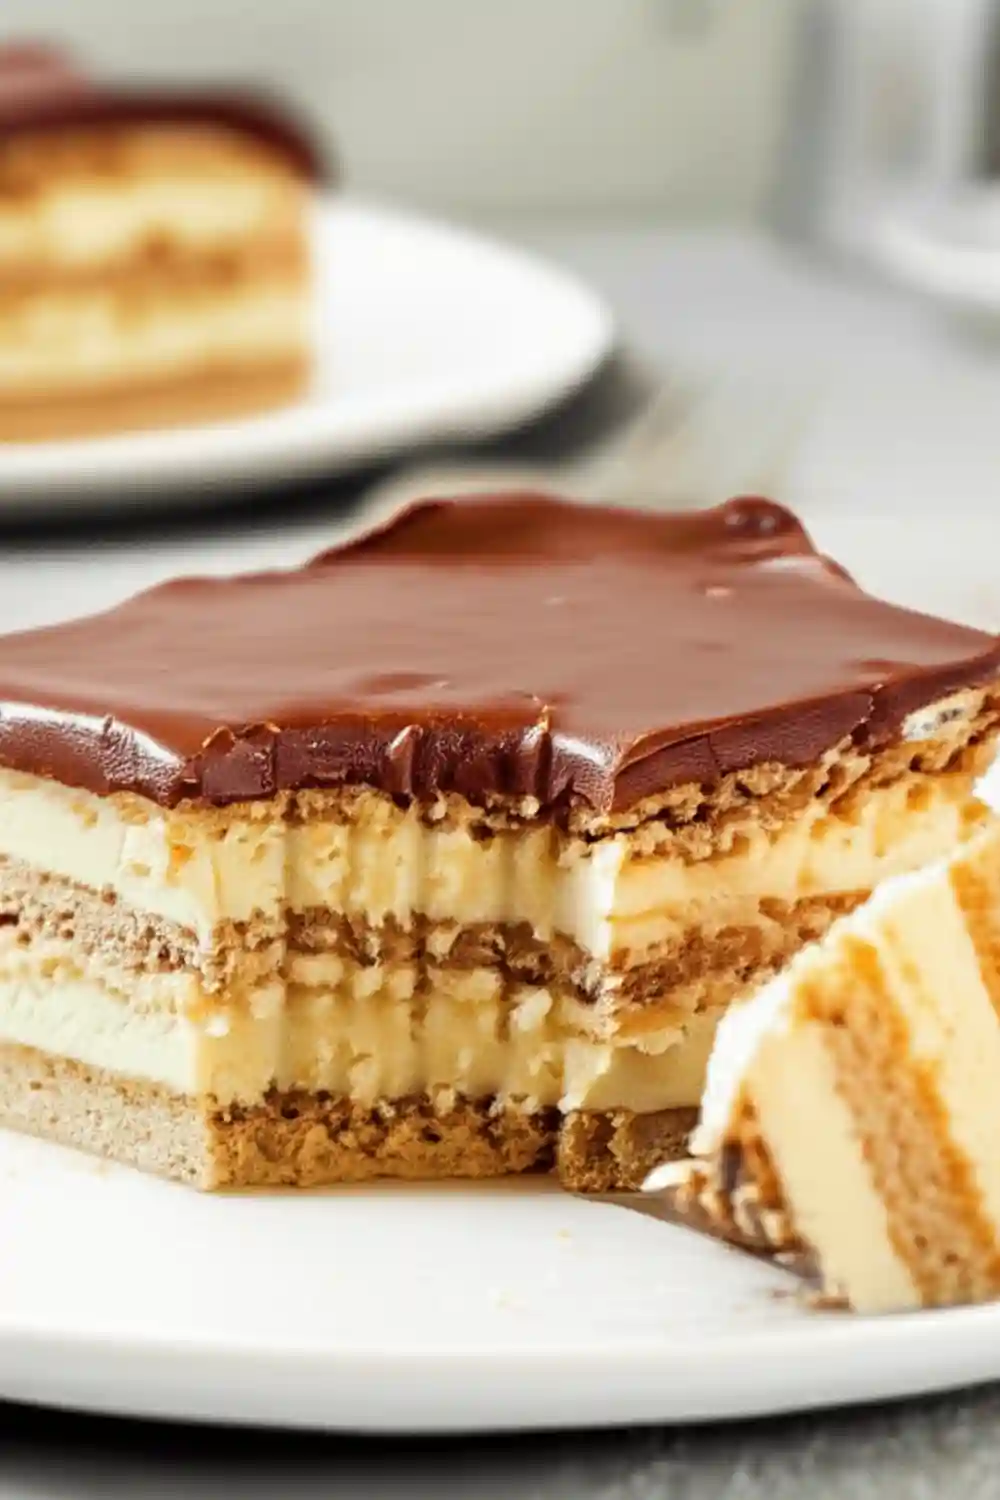
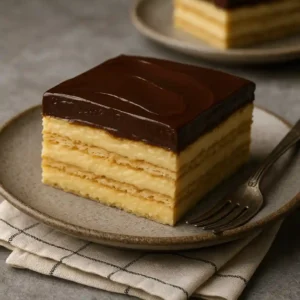
Keep layering graham crackers and pudding mixture two more times. The magic is in those alternating layers soaking together to create a soft, cake-like texture without any baking.
Top it off
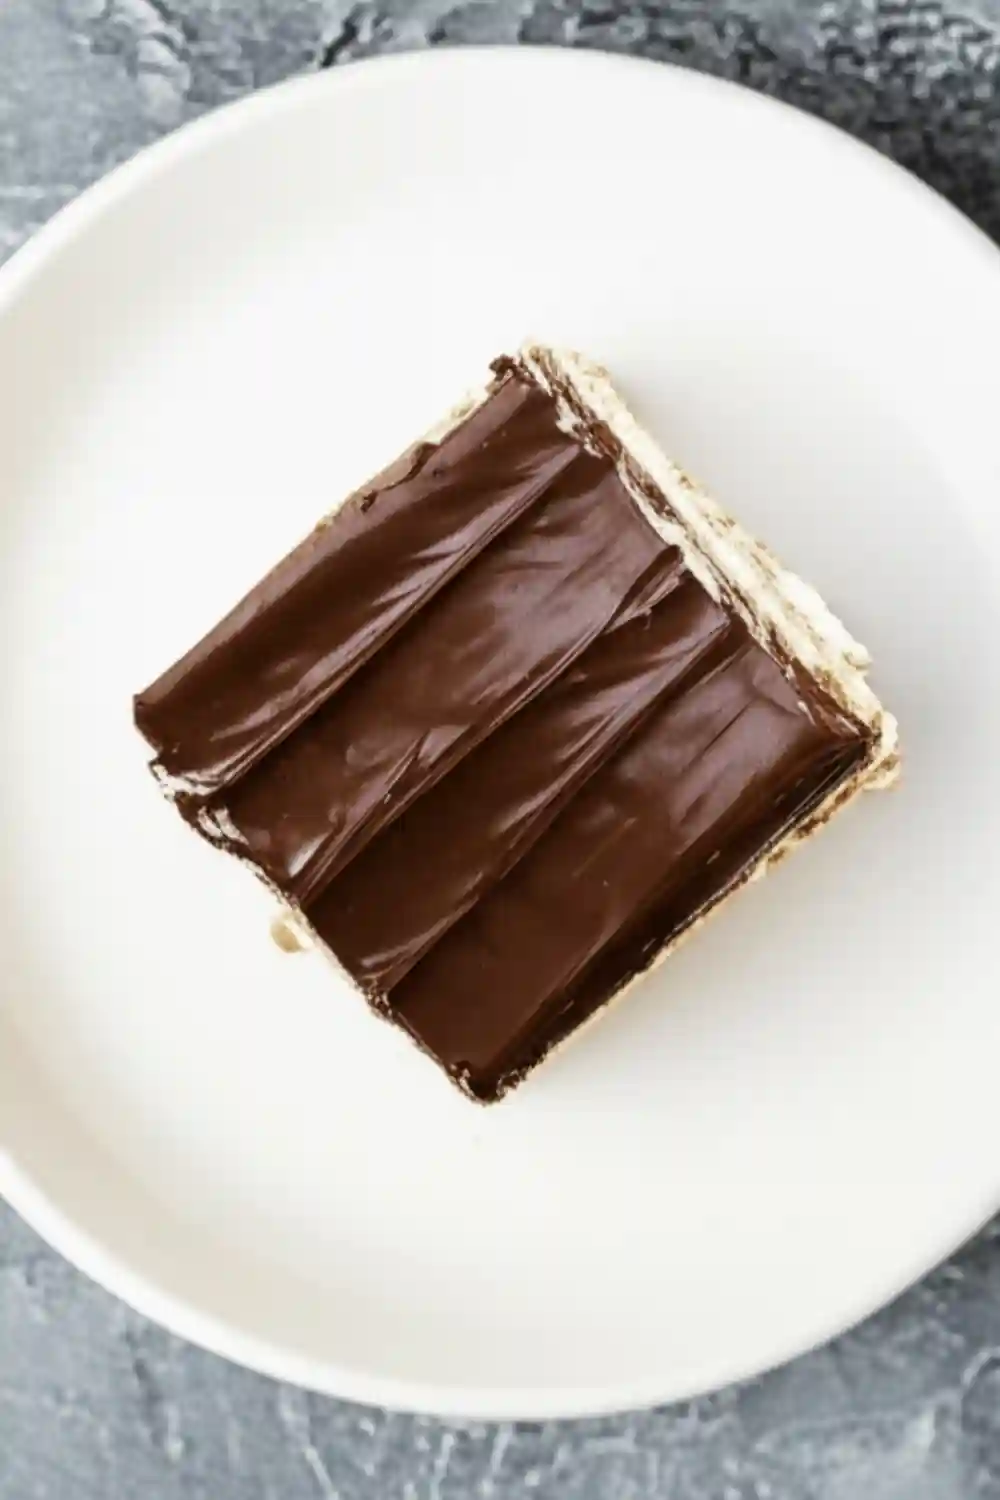
For the final layer, spread the remaining pudding mixture and sprinkle some chocolate chips or shavings on top if you like a little extra crunch and chocolatey goodness.
Chill it well
Here’s my favorite part: cover your cake with plastic wrap and pop it into the fridge for at least 4 hours. I usually make it the night before to let it set perfectly. The longer it chills, the better the layers soften and blend.
Tips for Success
Use the right measuring tools
I always keep two sets of measuring cups nearby, dry cups for things like sugar and graham cracker crumbs, and a clear liquid cup for milk. It helps keep everything accurate and avoids any surprises.
Spoon, don’t scoop
When I measure powdered ingredients (like instant pudding mix or powdered sugar), I like to spoon them into the cup instead of dipping it straight in. Then I level it with the back of a butter knife. It’s a small step, but it keeps you from accidentally using too much.
Room temp is your friend
If your whipped topping is too cold, it won’t mix as smoothly. I like to let mine sit out for about 10–15 minutes before folding it into the pudding mix, it makes it blend like a dream.
Variations
Double Chocolate Delight
If you’re anything like me and can’t get enough chocolate, try using chocolate graham crackers along with chocolate pudding. Then top it off with a rich chocolate glaze. It’s bold, chocolatey, and totally indulgent.
Banana Cream Butterscotch Style
This one’s always a hit at my house, just swap the vanilla pudding for banana cream, then melt some butterscotch chips with cream for a smooth topping. You get that banana cream pie vibe with a buttery twist.
Lemony White Chocolate Dream
Craving something bright and zesty? I sometimes use lemon pudding instead of the classic vanilla and drizzle a white chocolate topping over the final layer. It’s fresh, light, and perfect for spring gatherings.
Peanut Butter Chocolate Combo
When I want something a little nutty, I mix a spoonful of creamy peanut butter into the pudding mixture and finish with chocolate ganache on top. Think of it as a no-bake Reese’s cake, simple and so good.
Berry Vanilla Layer
For a fruity take, I’ve layered fresh strawberries or raspberries between the pudding and graham crackers, then used French vanilla pudding as the base. It adds a nice tart-sweet surprise in every bite.
How to Store
Once I’ve had my fill of this creamy Chocolate Eclair Cake, I always cover the leftovers and store them in the fridge, it keeps beautifully for up to 4 days. I find the flavors really deepen when you let it sit overnight, makes it even more delicious! The graham crackers soften just enough, blending perfectly with the pudding and whipped topping to create that melt-in-your-mouth texture. If you can hold off digging in right away, letting it chill overnight makes a big difference. Just skip the freezer, well, most of the time.
If you do want to freeze it, wrap the cake tightly in a double layer of plastic wrap and foil, label and date it, then freeze for up to 2 months. When you’re ready for another sweet bite, just thaw it overnight in the fridge.
FAQs
Chocolate Eclair CakeCan you make eclair cake without Cool Whip?
Yes, you can definitely make an eclair cake without Cool Whip! I’ve done it myself a few times when I didn’t have any on hand. One of the easiest swaps is to use homemade whipped cream, just whip up some heavy cream until it’s fluffy and stable. You can mix a bit of it with your pudding to help loosen things up, then gently fold in the rest to keep that light, airy texture we all love in an eclair cake. I usually go with about 3 cups of whipped cream as a solid replacement, and it tastes even fresher than the store-bought kind.
Why do eclairs get soggy?
Eclairs can turn out soggy if the pastry dough isn’t quite right. I’ve found that when the choux batter is too thin, it doesn’t hold its shape well and traps extra moisture during baking. One trick I always stick to is making sure each egg is mixed in fully before adding the next. That helps keep the dough nice and stable. Also, resist the urge to open the oven door early, I know it’s tempting, but letting that heat escape too soon can mess with the texture and leave your eclairs soft instead of crisp.
Can I put whipped cream in eclairs?
Absolutely, you can fill eclairs with whipped cream! It’s a delicious and lighter alternative to the classic pastry cream. I usually prepare enough whipped cream to generously fill about a dozen eclairs. If you’re going for a sweeter finish, you can also top them with a rich chocolate icing, though if you’re just drizzling instead of coating, you won’t need as much of the chocolate and cream. It’s all about how indulgent you want them to be.
How to keep eclairs crispy?
To keep eclairs crispy, place them back in a turned-off oven for a few minutes after baking. It gives them a chance to firm up a bit more.
Can you make éclairs the day before?
Yes, you can make éclairs a day in advance. Simply bake the shells and keep them covered at room temperature. For longer storage, freeze them in an airtight container and thaw before use. To bring back their crisp texture, reheat the thawed shells at 300°F for 5–10 minutes, then let them cool before filling.
Will whipped cream melt on a cake?
Yes, whipped cream can melt on a cake, especially in warm conditions or if it’s not stabilized. To help it hold its shape and avoid melting or leaking, you can mix in stabilizers like gelatin or powdered sugar when whipping the cream. This makes it more suitable for frosting cakes and helps it stay firm longer.
Chocolate Eclair Cake
Ingredients
- 2 small packets about 3 oz each of instant vanilla pudding mix
- 3 ¾ cups of cold whole milk
- 1 tub around 9 oz of whipped topping, thawed, or feel free to use your own homemade version
- 1 standard-size box of graham crackers you’ll use full sheets
- 1 can 15 oz of rich chocolate frosting, I prefer using dark chocolate for deeper flavor
Instructions
- Mix the Filling: Stir together the pudding mix and cold milk until it thickens up, then gently blend in the whipped topping until it’s light and creamy.
- Start the Layers: Grab your favorite 9×13-inch dish and cover the bottom with a layer of graham crackers. You might need to break a few to make them fit snugly, no worries, that’s part of the fun.
- Add the Good Stuff: Pour half of your creamy pudding mixture over the crackers and smooth it out with a spatula. Add another full layer of graham crackers right on top.
- Repeat and Top It Off: Spread the rest of the pudding mix over that second layer of crackers, then finish it with one more layer of graham crackers. Finally, warm the chocolate frosting slightly (just enough to make it spreadable) and carefully coat the top layer.
- Chill and Serve: Pop the dish in the fridge and let it set for at least 8 hours, or even better, overnight. This gives the layers time to blend perfectly. Serve cold, and keep any leftovers covered in the fridge.
Notes
Nutrition Information
- Calories: 320
- Total Fat: 12g
- Saturated Fat: 7g
- Cholesterol: 6mg
- Sodium: 180mg
- Total Carbohydrates: 42g
- Sugars: 28g
- Protein: 4g