
Table of Contents
Why You’ll Love This Recipe
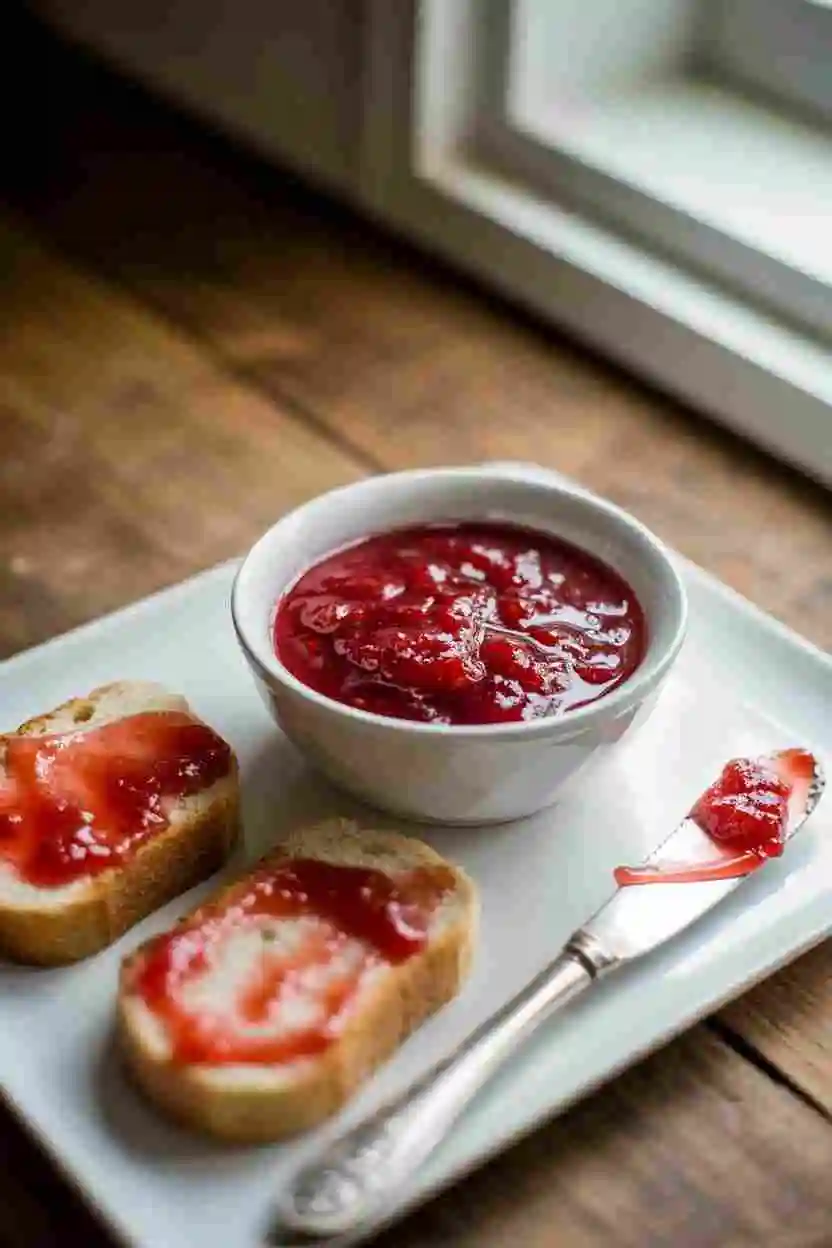
No frantic skimming! Unlike other recipes where foam takes over the pot, this one Strawberry Rhubarb Jam stays surprisingly calm. Why? Because macerating the fruit (aka letting it sit with sugar) gently coaxes out the juices before cooking, so there’s less air to escape. Less foam = less stress.
Pure, vibrant flavor. That hour of patience? It transforms tart rhubarb and sweet strawberries into something luxurious, with every spoonful tasting like the essence of summer. A splash of vanilla (my grandma’s trick) ties it all together, no fancy pectin required.
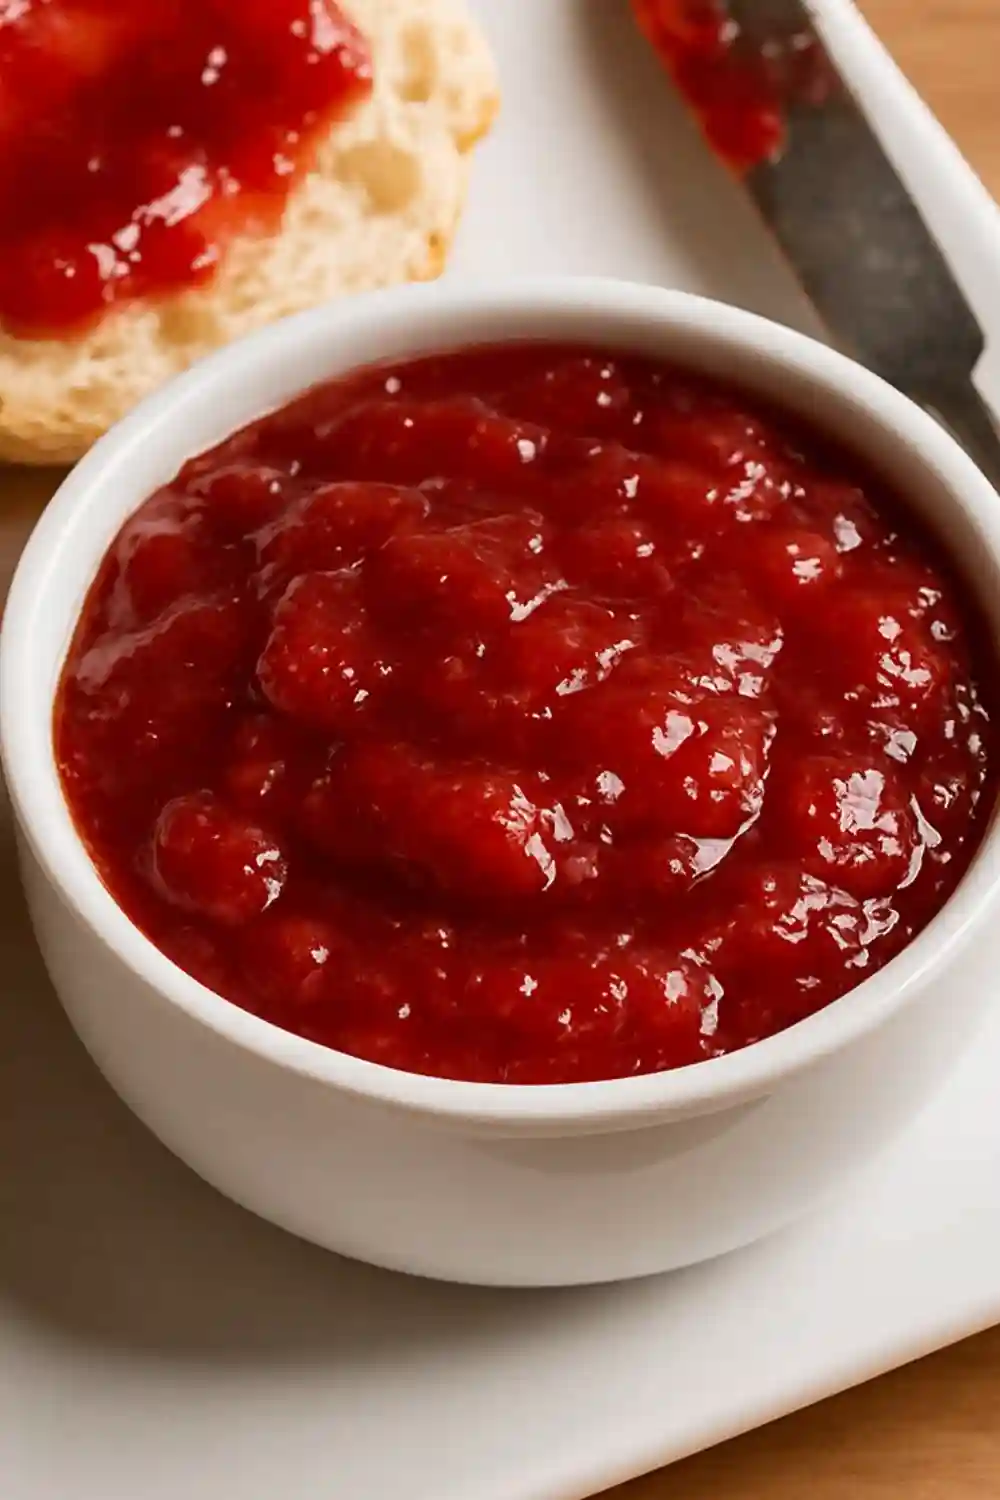
Sets like a dream. Sugar and lemon juice aren’t just ingredients here; they’re your jam’s backbone. Trust the ratios, I’ve tweaked them to guarantee a glossy, spoonable consistency every time.
Ingredients
Fresh rhubarb: Look for firm, vibrant stalks with a rosy blush (they pack the perfect tang).
Ripe strawberries: The sweeter they smell, the better your jam will taste. No bland berries allowed.
Sugar: Not just for sweetness, it’s what gives the jam its luscious, glossy body.
Lemon juice: A bright squeeze balances the flavors and helps the jam set naturally.
Vanilla: My secret weapon! A splash of extract or a scraped bean pod adds a whisper of warmth.
A pinch of salt: Trust me, it makes the fruit flavors pop like nothing else.
Recommended Tool
A deep, heavy-bottomed pot: This is your jam’s stage, Mine has seen more fruit than a farmer’s market, and its even heat keeps sugars from scorching.
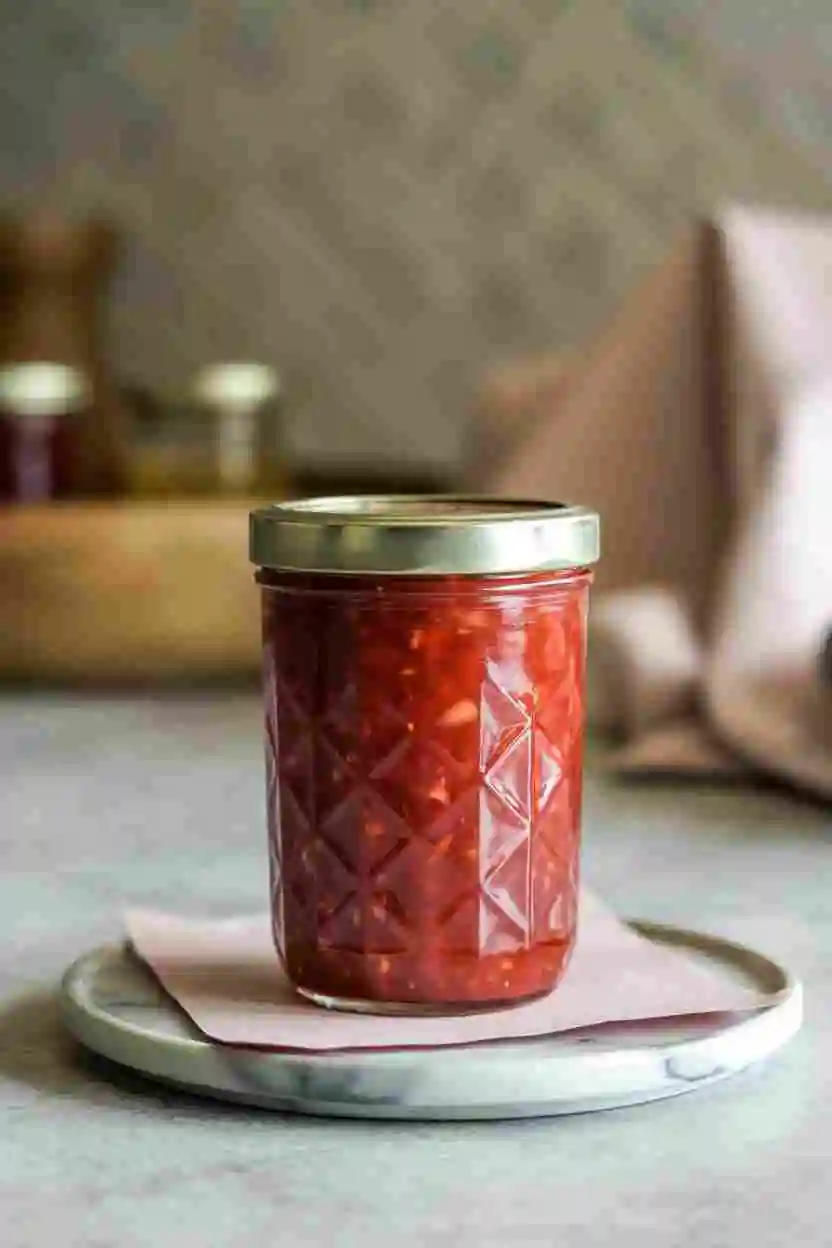
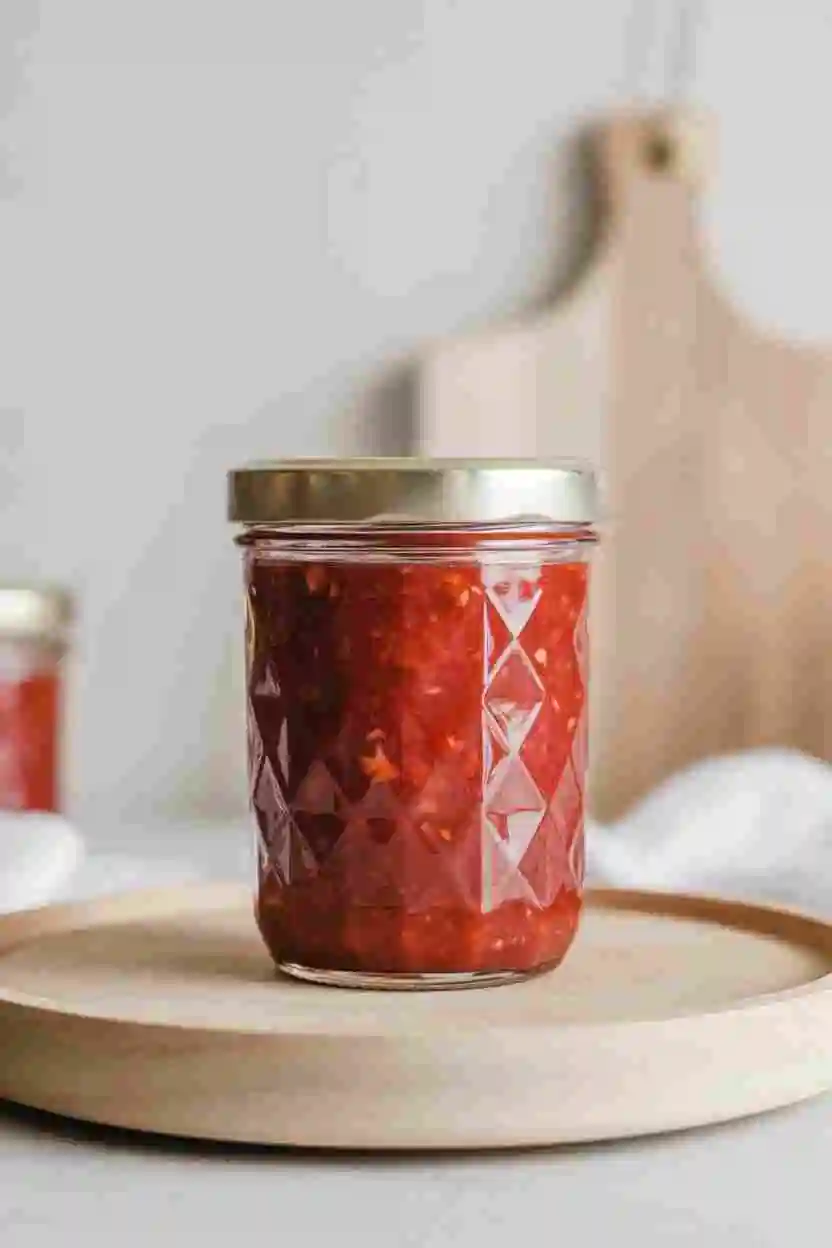
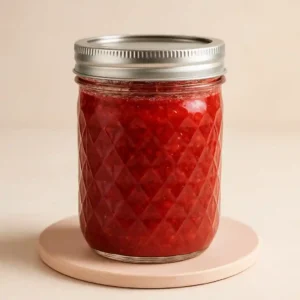
Glass jars with airtight lids: I save every half-pint jar throughout the year just for this, there’s something magical about seeing that ruby-red jam glowing through the glass.
A trusty jar lifter: Because nobody wants to explain to the ER nurse they burned their fingers on homemade jam. (Yes, I learned this the hard way.)
Tips for Success
Fruit is the Rockstar
Hunt for rhubarb with deep red stalks (they’re naturally sweeter) and strawberries that smell like summer sunshine. Pro tip: If your berries taste bland, don’t panic, just add a touch more sugar during maceration.
Sugar: Your Jam’s Best Friend
Think of sugar as more than just sweetness, it’s the architect of your jam’s texture. Too little, and your spread might be runny; too much, and it could crystallize. Stick to the recipe, but trust your taste buds too.
Lemon Juice: The Unsung Hero
Freshly squeezed lemon juice is my non-negotiable. It brightens flavors and helps with setting. (That said, in a pinch, bottled works, just avoid the “from concentrate” stuff.)
Vanilla: The Secret Weapon
A real vanilla bean split open is like adding a cashmere blanket to your jam, luxurious and comforting. No beans? Pure extract works wonders.
Patience Pays Off
Don’t rush the maceration or cooking process. Jam-making is a slow dance, not a race. That extra hour of waiting? It’s the difference between “pretty good” and “where has this been all my life?”
FAQs
Is rhubarb good for jam?
Yes, rhubarb is great for jam, though it behaves a bit differently than typical fruits since it’s actually a vegetable and naturally low in pectin. That just means you may need to adjust the method slightly, like using recipes with added pectin or lemon juice, but when done right, it produces a delicious, well-keeping jam that’s bright and flavorful.
Do you need to peel rhubarb for jam?
Peeling rhubarb for jam isn’t necessary, especially during its peak season from April to July when the stalks are naturally tender. The skin adds color and nutrients, so many prefer to leave it on unless it’s particularly tough.
Why won’t my rhubarb jam thicken?
If your rhubarb jam isn’t thickening, don’t worry, it might just need more time to set. Sometimes, it looks runny right after processing but thickens as it cools. If it stays loose, you can try cooking it again, adding pectin, or even using chia seeds as a natural thickener.
Do I need to soak rhubarb?
No, you don’t need to soak rhubarb. Just trim off the leaves and tough ends, then rinse the stalks under cool water and drain, soaking isn’t necessary.
What is the best thickener for rhubarb?
The best way to thicken rhubarb jam is to cook the macerated fruit briefly with a thickening agent like cornstarch or pectin, using some of the liquid from the maceration to achieve the perfect consistency.
Is rhubarb better, green or red?
The color of rhubarb, whether red, green, or somewhere in between, is determined by its variety, not ripeness. Both green and red rhubarb can be equally sweet, so neither is necessarily better than the other.
Is rhubarb a veg or fruit?
Rhubarb is technically a vegetable, though it’s often mistaken for a fruit. This confusion partly comes from its sweet use in cooking and a historical classification by the USDA, but botanically, it belongs to the vegetable family.
What fruit is best for jam?
Some of the best fruits for making jam include strawberries, known for their classic flavor; apricots, which offer a balanced taste with their meaty texture and mild acidity; and peaches, which give jams a unique yellow-orange color and sweet aroma.
What flavors compliment rhubarb?
Rhubarb’s tart flavor pairs beautifully with fresh herbs like thyme, mint, and basil, adding a refreshing touch, while warm spices such as ginger, cinnamon, and cardamom bring depth and cozy warmth to rhubarb dishes.
Strawberry Rhubarb Jam
Ingredients
- About 900 grams of rhubarb chopped into roughly 1.5 cm pieces
- 450 grams of fresh strawberries firm and not too ripe, hulled and sliced into small chunks
- 500 grams of granulated sugar* adjust based on your sweetness preference
- 4 tablespoons of lemon juice from a bottle I prefer bottled for consistent acidity, which helps the jam set and last longer
- A pinch of fine sea salt
- One whole vanilla bean sliced lengthwise so you can scoop out the tiny seeds, they add a cozy hint of sweetness to the jam.
Instructions
- 1.Begin by mixing your sliced rhubarb and strawberries with sugar in a big bowl. Mix everything well, cover it tightly, and pop it into the fridge for at least 10 hours, or up to a full day. This rest lets the fruit soften and release its natural juices, making your jam more flavorful.
- 2.When you’re ready to cook, take the fruit mixture out and stir in the vanilla bean seeds for that special warm touch. Meanwhile, wash your jars thoroughly with hot, soapy water. Place them into your boiling water bath canner to keep them warm while you prepare the jam. Don’t forget to freeze a small plate, you’ll use it later to test the jam’s thickness.
- 3.Pour the macerated fruit and all its syrup into your favorite heavy pot, my go-to is a large Dutch oven. Add in the lemon juice and a pinch of salt, then bring the mixture up to a gentle boil over medium-high heat, stirring now and then.
- 4.As the jam starts boiling, you’ll notice some foam forming on top. Keep stirring every few minutes, adjusting the heat as needed. The liquid will slowly evaporate, and the fruit will break down, turning the mixture thicker and more jam-like over the next 10 to 15 minutes.
- 5.Around the 20 to 25-minute mark, your jam should be thickening nicely. If your fruit was especially juicy, it might take a bit longer, be patient! Keep stirring often, scraping the pot’s edges to prevent burning. If you have a candy thermometer, aim for about 210°F (99°C). If not, test by dropping a spoonful onto your frozen plate, tilt it and see how slowly it runs. If it holds its shape and wrinkles when nudged after half a minute, it’s ready.
- 6.Once your jam is ready, grab a warm jar from the pot and set it on a towel. Spoon in the hot jam, leaving a little space at the top. Clean the rim, then twist the lid on gently, just until it feels secure.
- Carefully return the filled jars to the hot water. Once they’re all in, cover the pot and let them gently boil for 10 minutes. When that’s done, turn off the heat and let the jars sit in the water for another 5 minutes, this helps prevent spills when you take them out.
- 8.Lift the jars out and set them on a towel to cool completely at room temperature. Listen for the satisfying “pop” of the lids sealing, that’s your signal everything went perfectly.
- 9.After cooling, give the jars a quick check to ensure all lids have sealed tightly. If any jars haven’t sealed, keep them refrigerated and enjoy those first.
- 10.Finally, label your jars with the date, then store them in a cool, dark spot. Your homemade strawberry rhubarb jam will stay delicious for up to a year, if you don’t eat it all sooner.
Notes
Nutrition:
- Calories: 35
- Carbs: 9g
- Sugar: 8g
- Protein: 0g
- Fiber: 0.2g
- Sodium: <1mg